Prototype Development
Validate the design on a physical part before committing to tooling.
Overview
How a design that looks right on screen actually feels, assembles and behaves under load is only understood with a physical part. Prototyping is how you catch the mistake cheaply, before tooling investment.
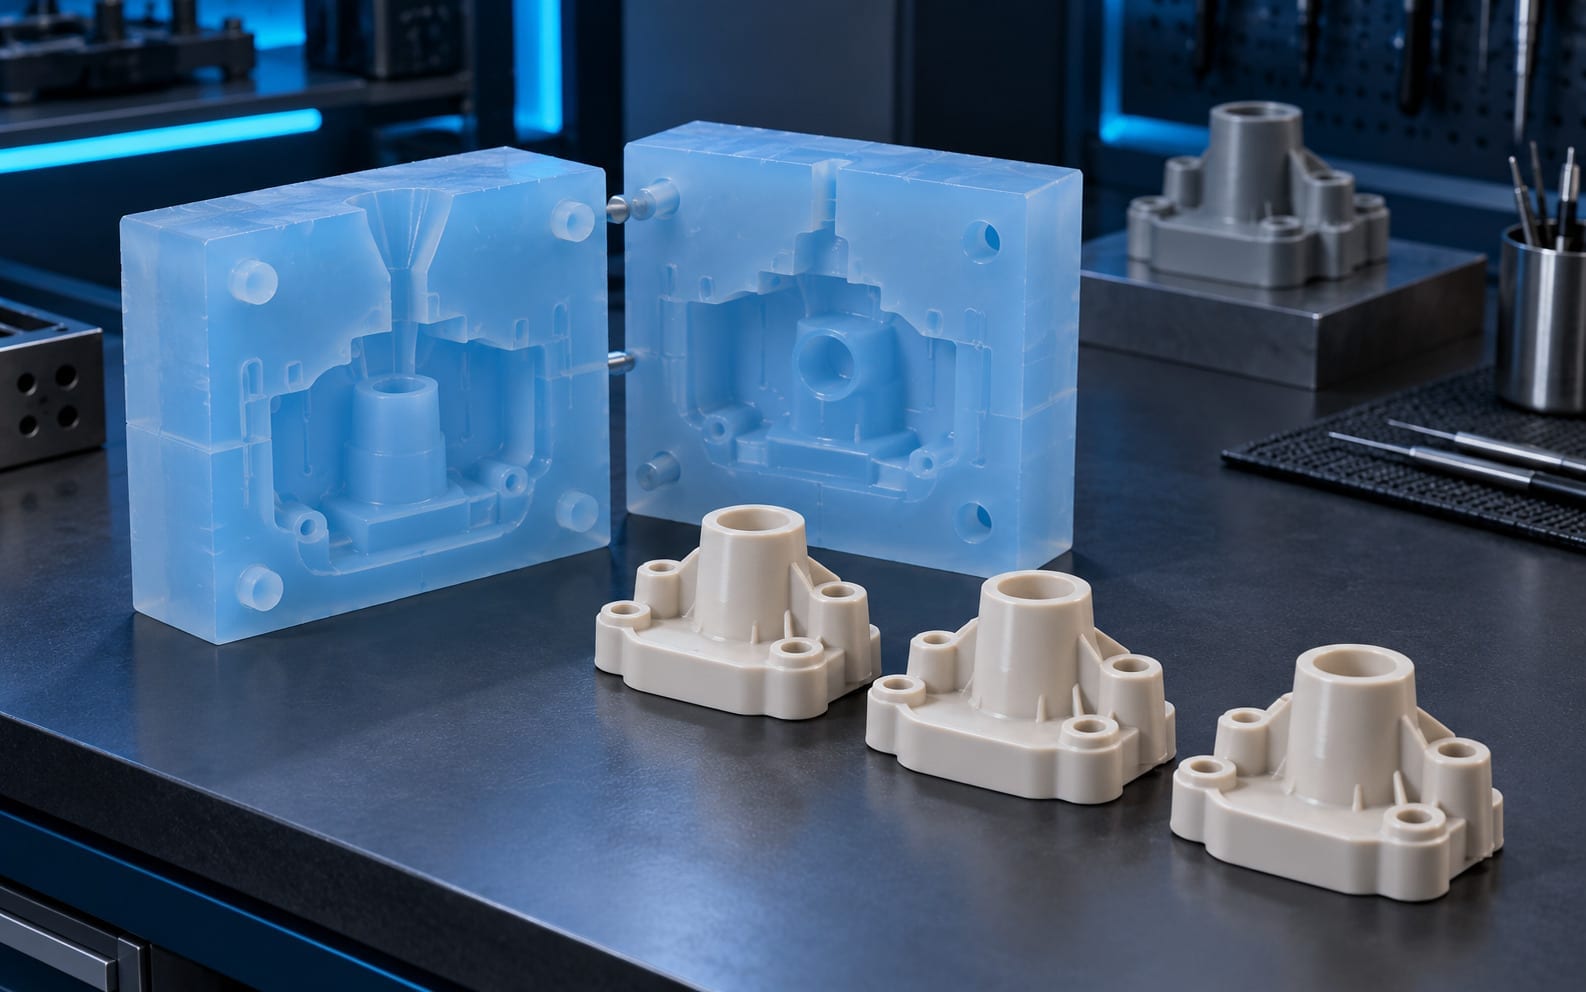
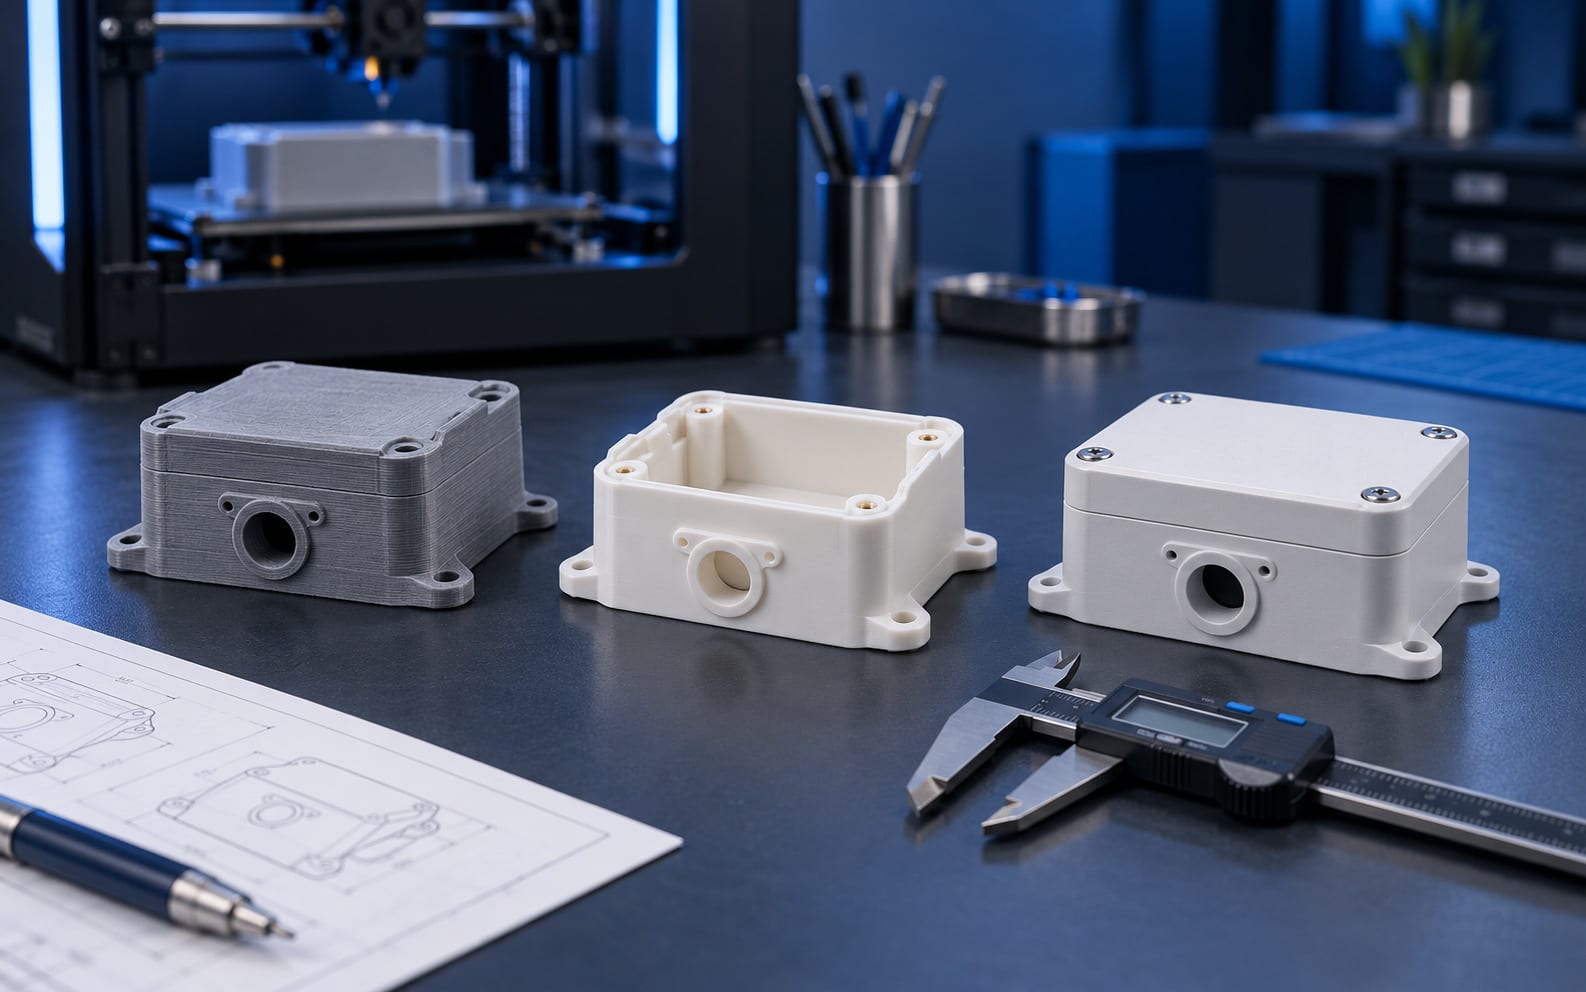
The prototyping method is chosen according to what needs validating. If only form and ergonomics are being checked, additive manufacturing is enough; if mechanical strength or real material behaviour is to be tested, machining or vacuum casting in silicone tooling is preferred.
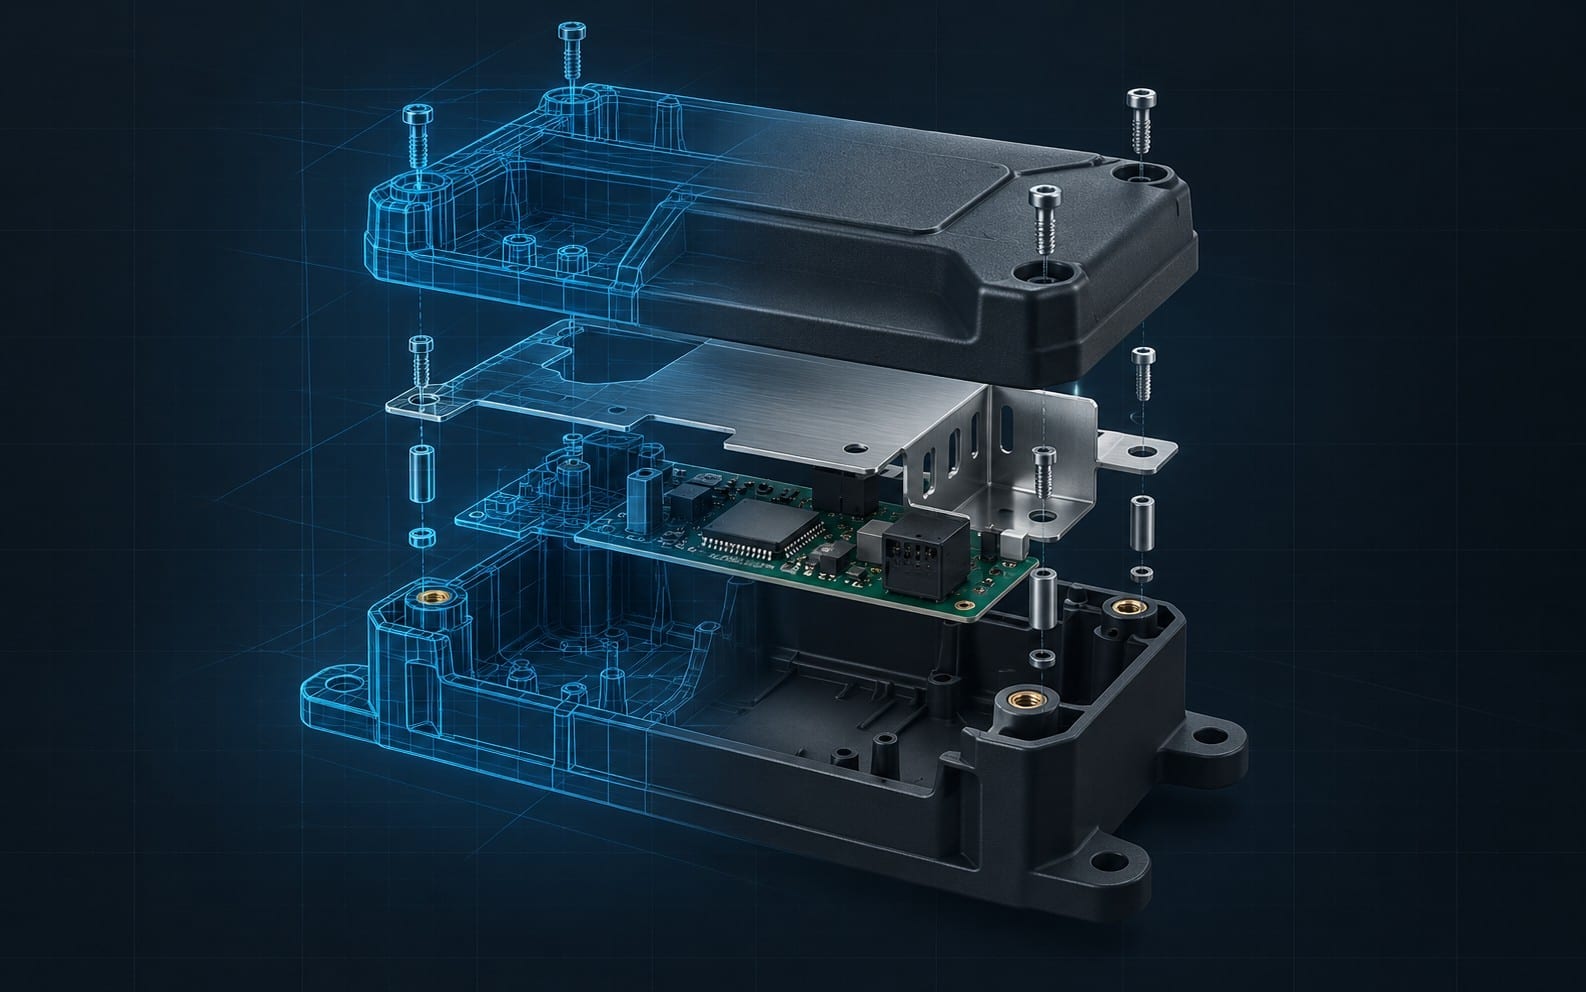
Assembly checks, functional testing and where necessary measurement are performed on the prototype. Findings are fed back into the 3D model and, typically after a few iterations, the design is ready for series production.
The validated design becomes direct input to mould design. Skipping this step means the mistake surfaces after the tool is cut, turning into a far more expensive revision.
How we proceed
- Step 01
Validation goal
What the prototype must prove is defined explicitly.
- Step 02
Method selection
Additive manufacturing, machining or vacuum casting is chosen.
- Step 03
Production
The prototype is produced and given the required surface finish.
- Step 04
Test and measurement
Assembly, function and dimensional checks are made and reported.
- Step 05
Revision
Findings are applied to the model and a new iteration produced if needed.