
Plastic Injection Mould Design and Manufacturing
Injection moulds built for series production, with balanced runner and cooling design.
Overview
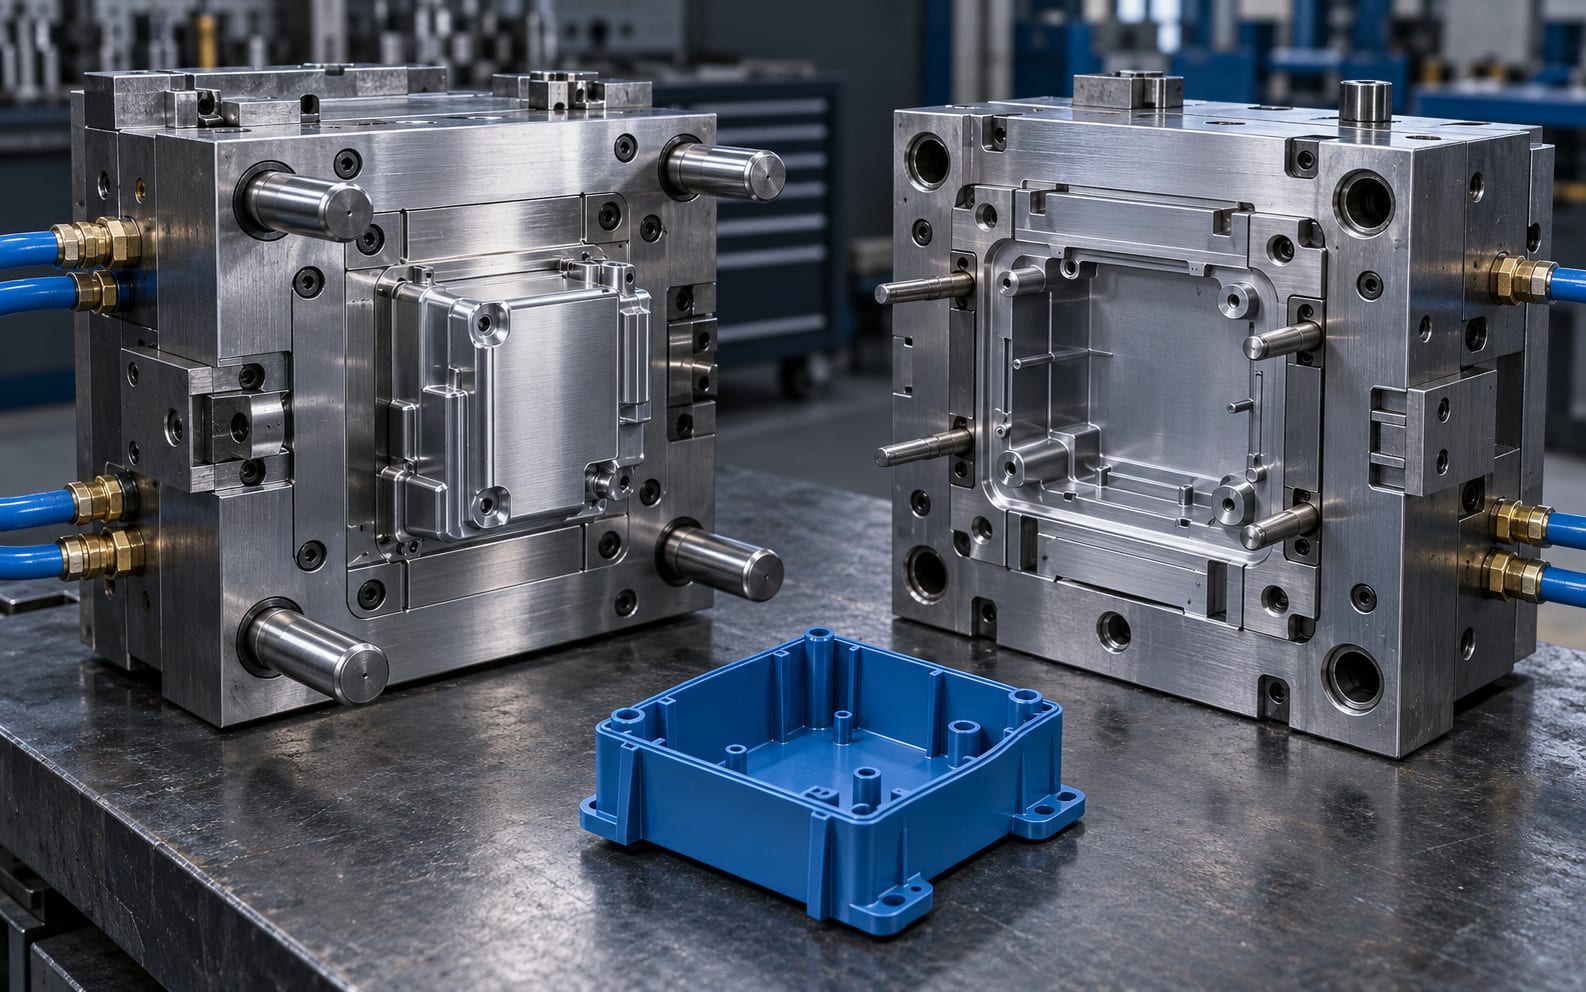
Designed correctly, an injection mould is an investment that holds the same dimensions across hundreds of thousands of cycles. Designed poorly, it becomes a source of scrap on every shift. The difference lies in runner, cooling and ejection design.
Mould design starts with part analysis: wall thickness distribution, parting line, draft angles and likely warpage directions are established. Gate position and runner balance are decided early because they directly govern fill sequence and therefore internal stresses.
Cooling channel layout is the single largest factor in cycle time. Even mould temperature across cavities both shortens the cycle and improves dimensional stability.
Tool steel is selected according to target volume and the raw material to be processed. Glass-fibre reinforced compounds call for wear resistance, while medical and food applications prioritise surface quality and corrosion resistance.
After manufacturing, trial shots are run, a dimensional report is produced and the mould is handed over ready for series production.
How we proceed
- Step 01
Part and DFM analysis
Wall thickness, parting line, draft angles and warpage risk are assessed.
- Step 02
Mould design
Cavity count, runner balance, cooling and ejection systems are laid out.
- Step 03
Steel selection
Tool steel and hardness are chosen for the production volume and resin.
- Step 04
Machining
Blocks are machined, with EDM and grinding applied where required.
- Step 05
Trial and handover
Trial shots are run, a dimensional report is issued and the mould is delivered.
Related topics
Product Design
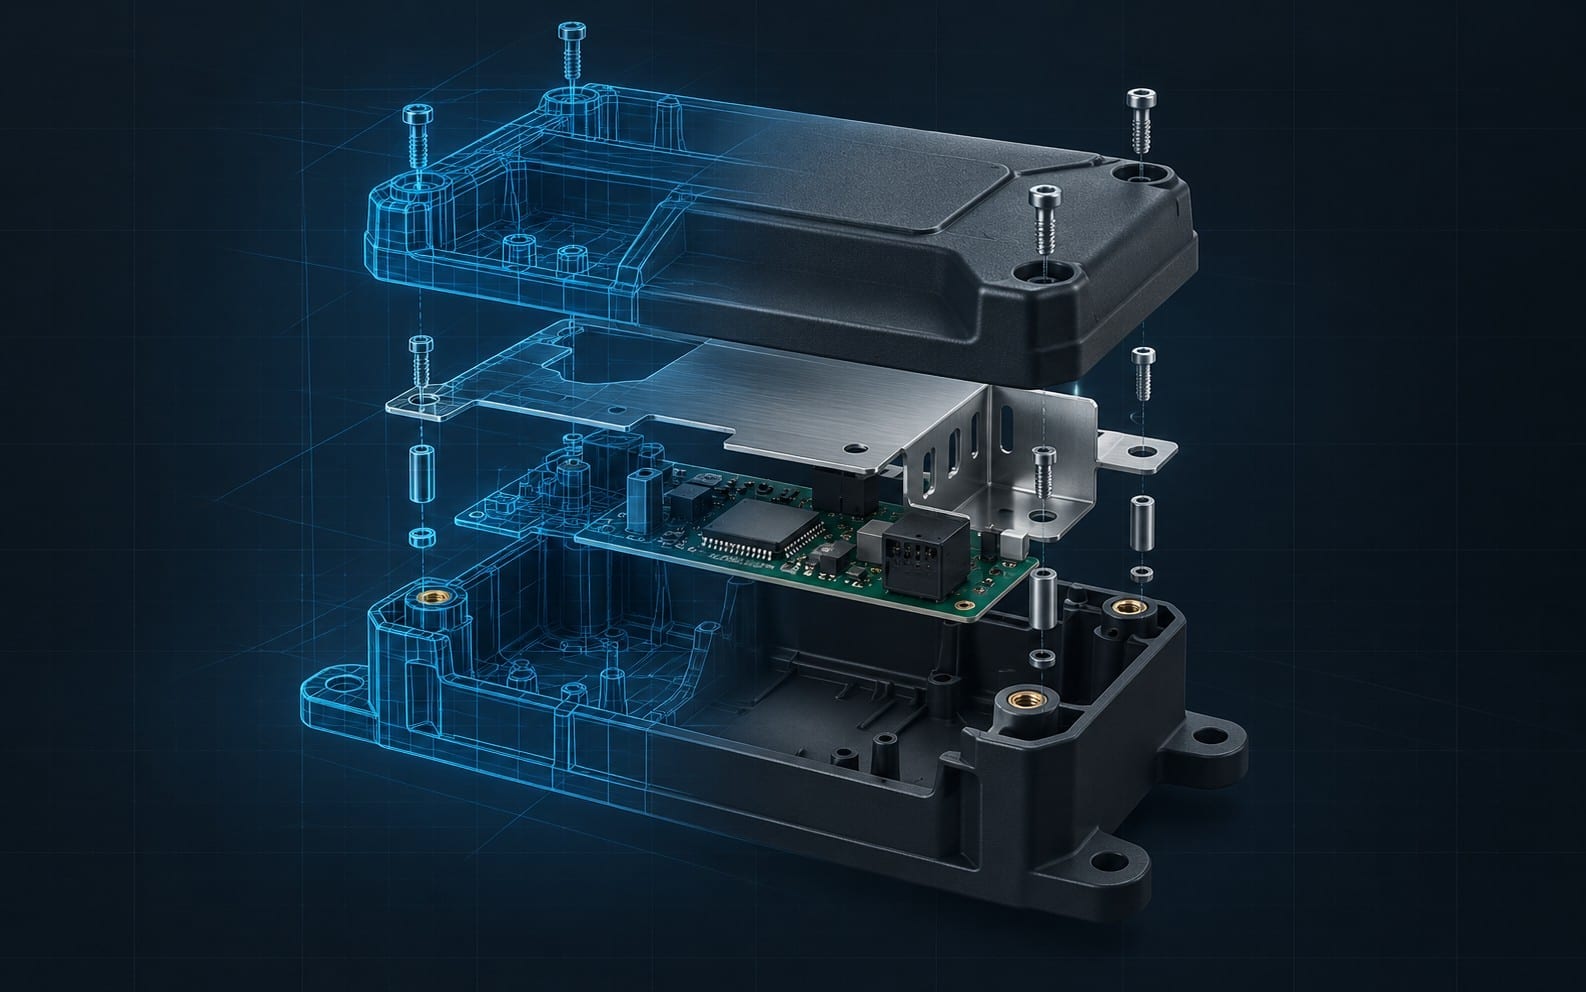
From concept to manufacturable engineering: 3D modelling, material selection and design for manufacturing.
Details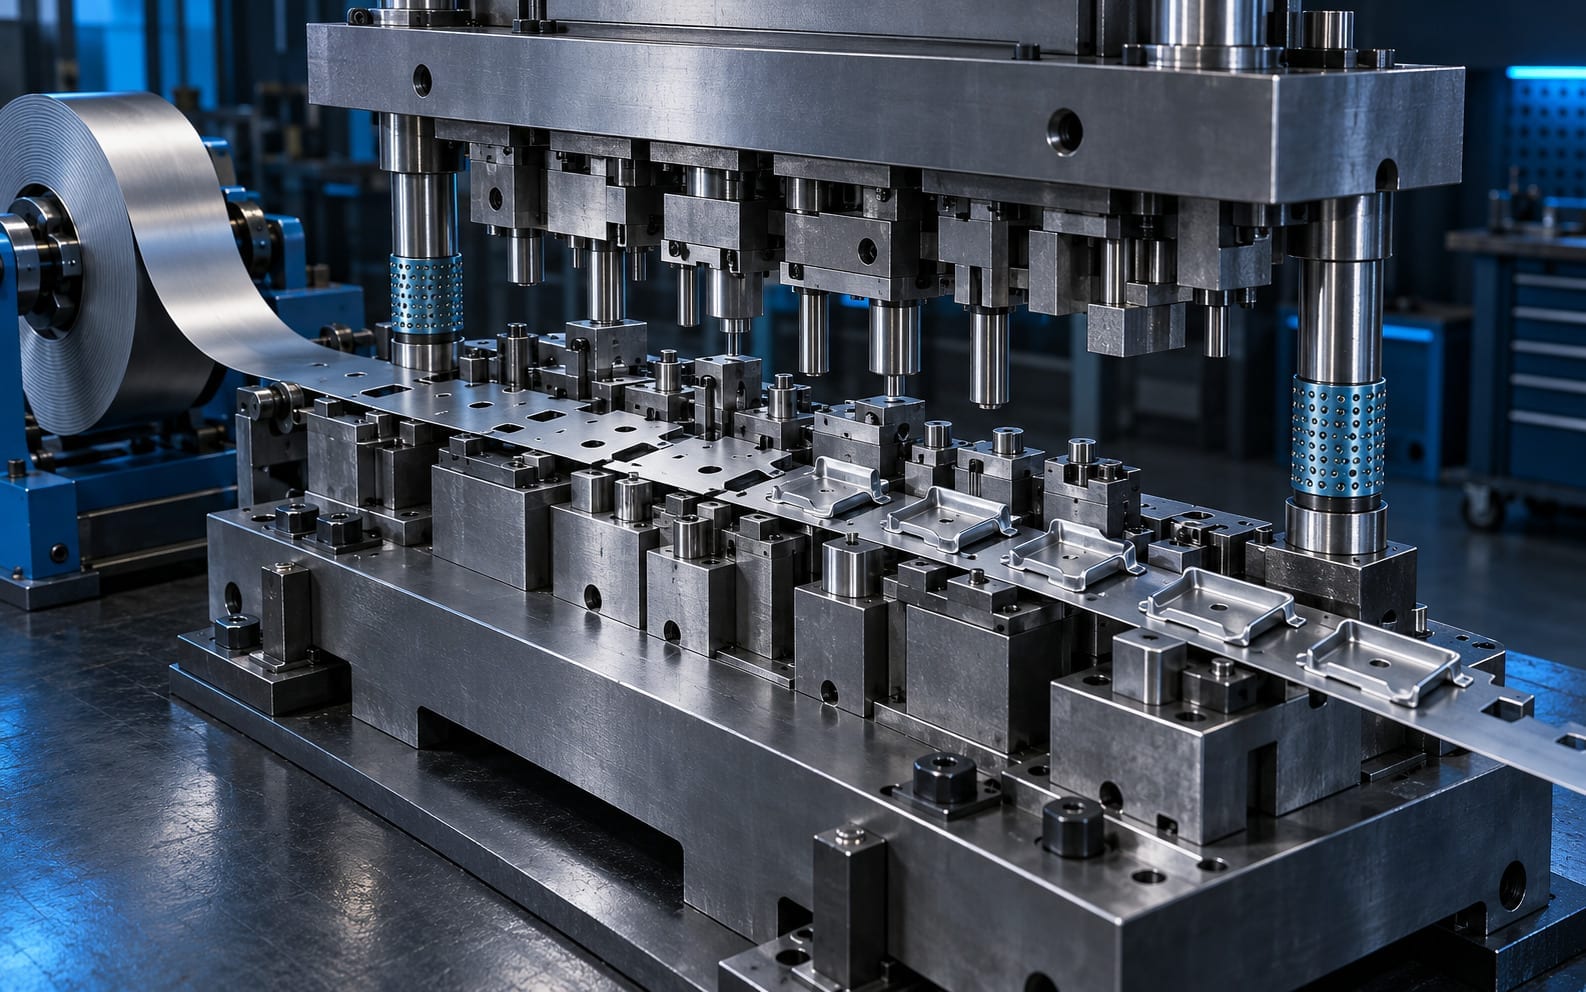
Sheet Metal Die Manufacturing
Blanking, bending, deep drawing and progressive dies, from design through commissioning.
Details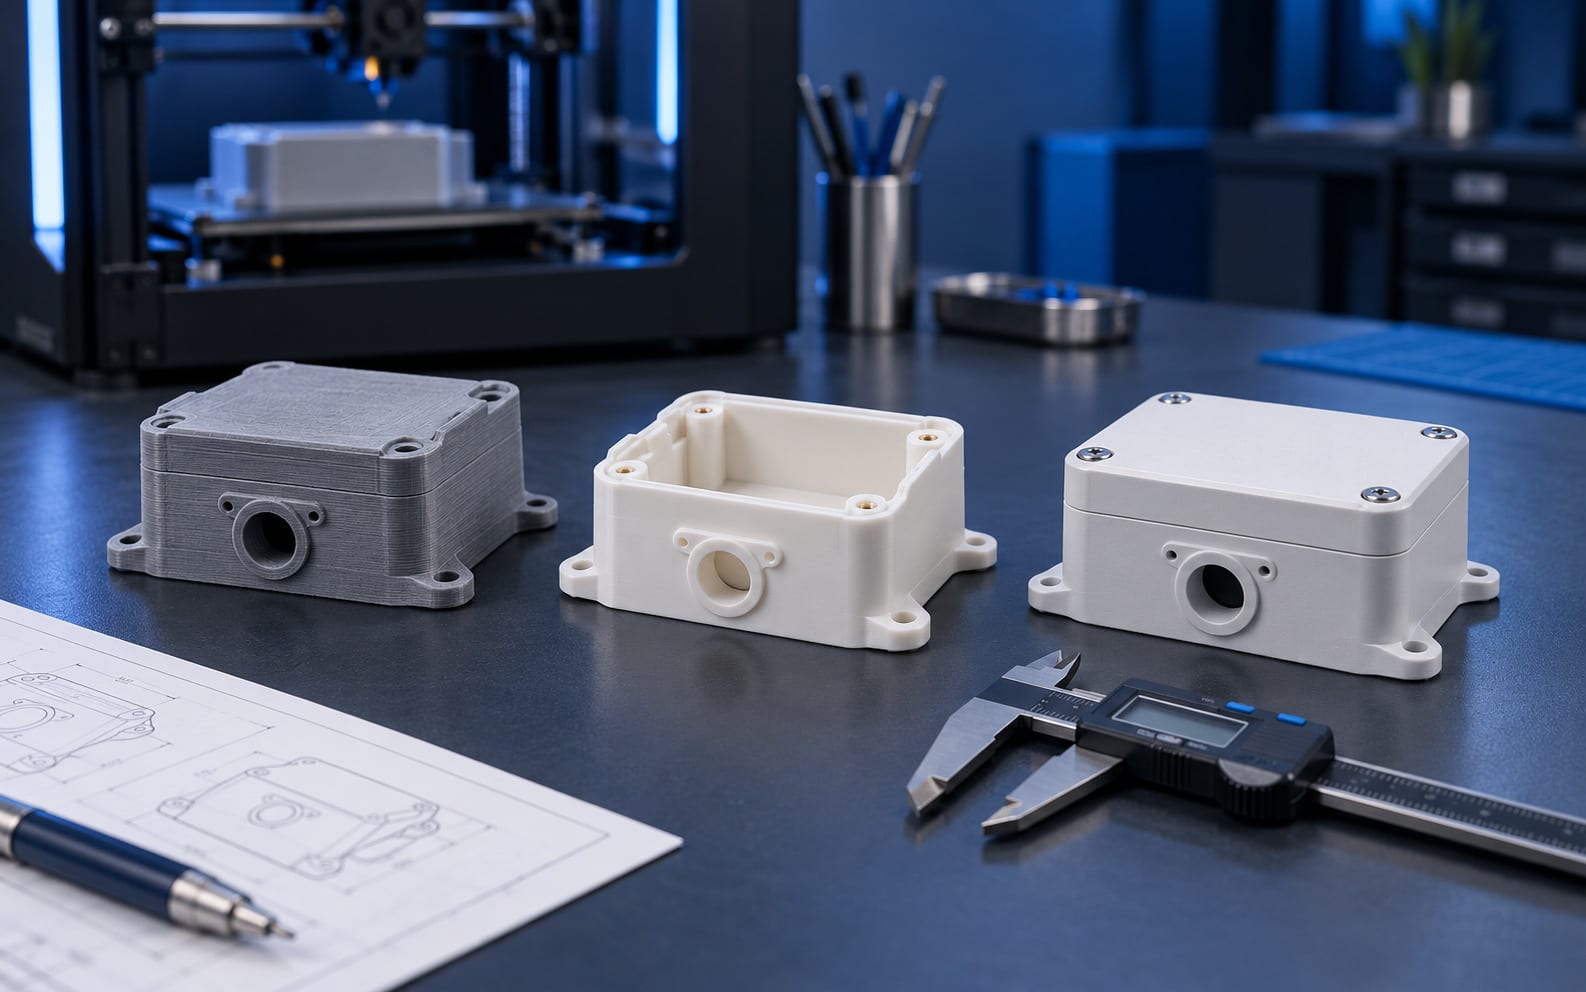
Prototype Development
Validate the design on a physical part before committing to tooling.
Details